The Ideal Camera Settings for Real Estate Photography
Taking stunning real estate photos is not only about having an eye for composition or well-staged rooms. The behind-the-scenes hero is often the careful selection of camera settings, which can make or break your photographs. Here are some of the best camera settings for real estate photography that will help you capture extraordinary images:
Aperture
An aperture setting in the range of f/8 to f/11 should be your go-to setting for real estate photography. This range offers a good depth of field (the range of distance within the shot that’s in sharp focus) and ensures that key details of the property will be clear and crisp.
Shutter Speed
Your choice of shutter speed will heavily depend on the available natural light. For indoor shots with ample light, a shutter speed between 1/30 to 1/60 of a second is typically adequate. If you’re using a tripod (which you should for stability), you can go slower without risking blur due to camera shake. Remember, darker rooms will require slower shutter speeds to allow more light into the sensor.
ISO
ISO measures your camera’s sensitivity to light. When shooting real estate photographs, it’s best to keep your ISO as low as possible, around 100-400, to prevent noise or graininess in the final image.
White Balance
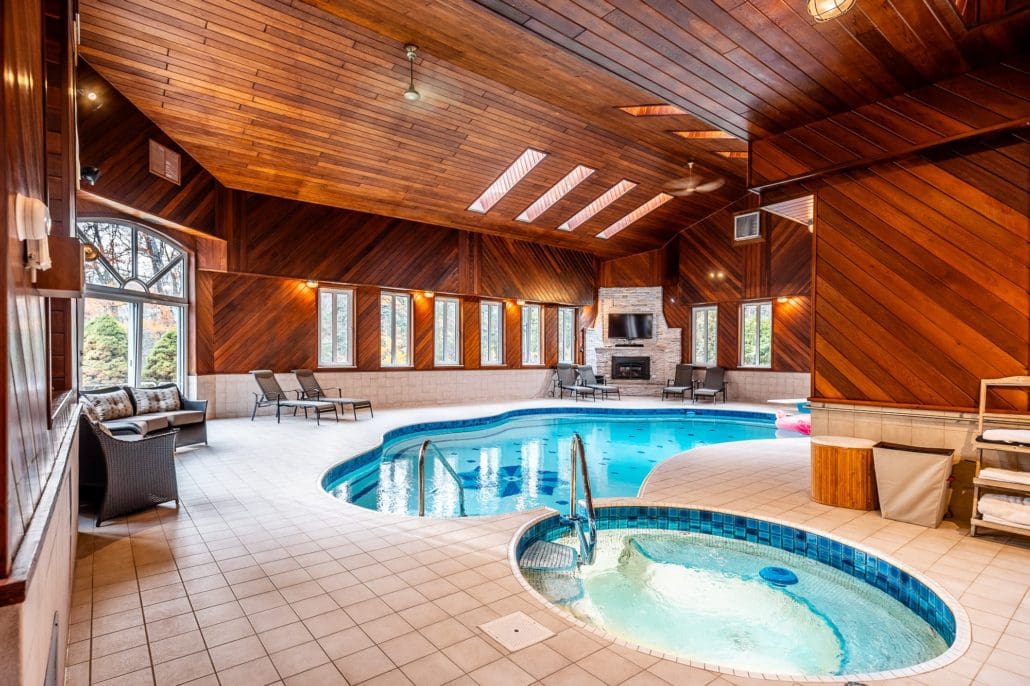
White balance plays a crucial role in capturing accurate colors inside a property. While most cameras offer an auto white balance feature, this might not always guarantee the best results. For warmer, more inviting images, especially in rooms with a lot of natural wood, try setting the white balance to “Shade” mode.
Format
Always shoot in RAW format when possible. RAW keeps all data from the sensor, giving you a high-quality image with more control during post-processing. This allows the highest flexibility to correct exposure, white balance, or even shadows and highlights in post-production.
Use a Tripod
Stability is key, especially when working with low shutter speeds and lighting conditions that are not perfect. A tripod comes in handy to keep your images sharp and clear.
Apt use of these camera settings can help you bring out the best in your real estate photographs. Remember, understanding both these technical aspects and the art of capturing the lifestyle a property promises is essential for creating compelling real estate imagery. Happy shooting!
While mastering these settings may take some practice, there’s always the option of hiring a professional real estate photographer to ensure your property is presented in the best light. Their experience and expertise can save time and bring out the best in your property.
If you’re keen to learn more about real estate photography and camera settings, make sure to visit Speedy Photographer. It’s an excellent platform filled with resources for aspiring photographers and property owners alike. Whether you decide to take a DIY approach or hire a pro, remember, high-quality pictures are key to making your property stand out in the real estate market.


Leave a Reply
Want to join the discussion?Feel free to contribute!